How to Connect Canon Pixma Printer to WiFi?
To Connect a Canon Pixma printer to WiFi, you need to learn all the methods. If you did not know that there are various methods that can help you learn how to connect my Canon Pixma printer to WiFi, then this page is meant for you. Canon has made it easy for you to set up printer Canon with your WiFi network.
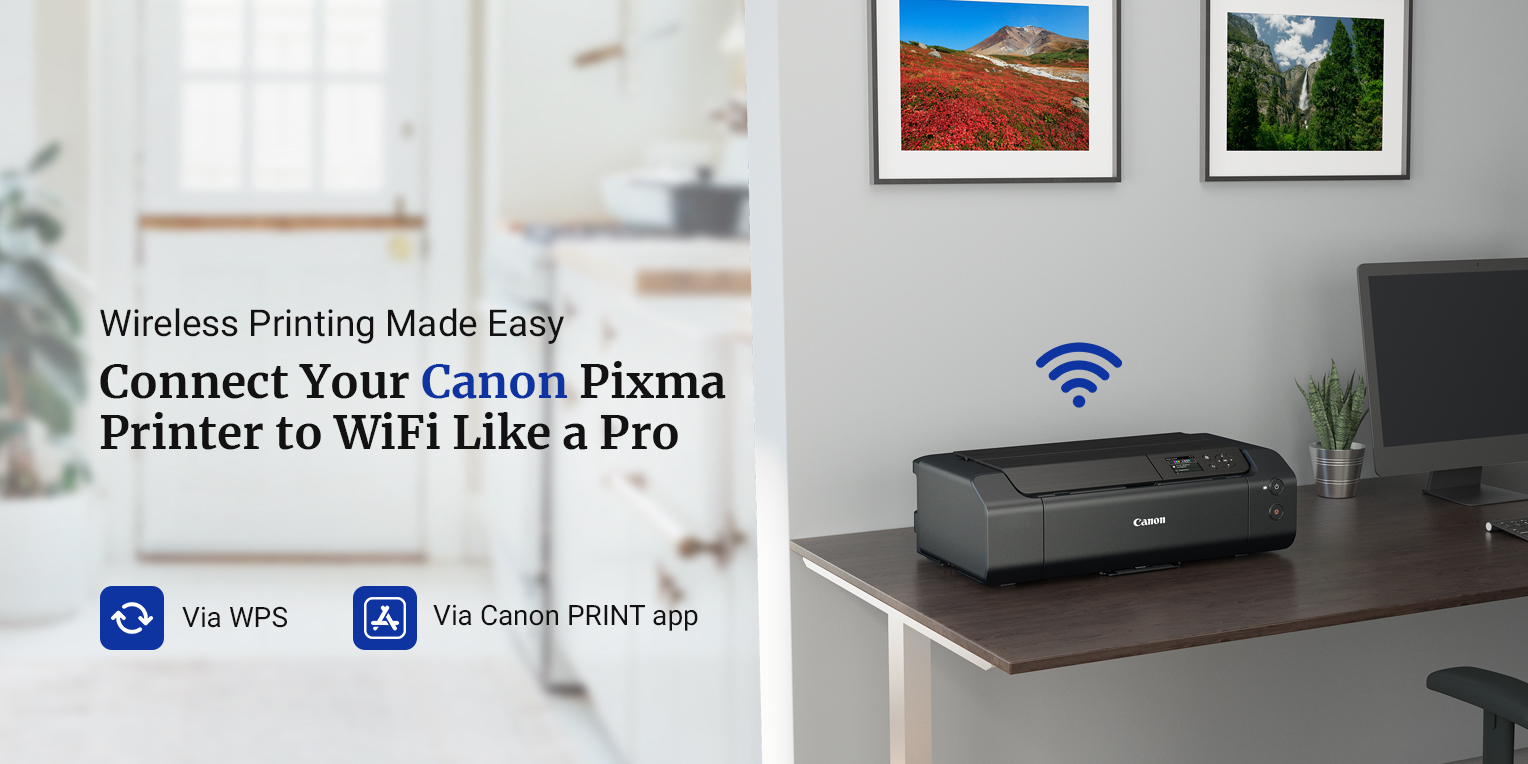
The three methods that help you add Canon printer to your home WiFi network are as follows:
- WPS method
- Canon PRINT app method
- Standard method
Most users, when they buy a new printer, don’t want to go through the configuration on their own or they avoid it due to the complexity. However, we want to tell you that Canon has seriously made it easy for its users to connect the Canon Pixma printer to WiFi and set it up. You can choose any of the aforementioned methods to learn how to setup my Canon printer with WiFi network.
Today, on this page, we will walk you through the detailed steps to help you easily understand the Canon printer WiFi connection procedure.
Methods to connect Canon printer to WiFi
As already discussed, there are three methods through which you can learn how to connect my Canon Pixma printer to WiFi network. We have put down all three methods separately to allow for easy understanding of the process. To set up printer Canon with WiFi, kindly follow the steps very carefully:
Method 1: Connect Canon Pixma printer to WiFi via WPS
If you want to learn how to connect my Canon Pixma TS3522 printer to WiFi through WPS, kindly follow the steps below:
- Make that the WPS button on your router is functional.
- If your router isn’t WPS-enabled, connect using the conventional method.
- Make sure your Canon printer is connected to a power source and turn it on.
- Your printer’s WiFi button must be pressed and held down until the WiFi lamp starts to flash.
- Within two minutes of hitting the WiFi button on the printer, press the WPS button on your router.
- A WiFi network connection for your printer is still pending.
- When the connection is made, the WiFi lamp on your printer will stop flashing and stay lit.
- Print a network settings report to verify that the printer is connected to the WiFi network if the connection was successful.
- We hope you got to learn how to setup my Canon printer to WiFi using the WPS method.
Method 2: Add Canon printer to WiFi via Canon PRINT app
In case you want to learn how to connect Canon Pixma TR4520 printer to WiFi via Canon PRINT app, here are the steps for you:
- Install the Canon app on your smartphone to set up printer Canon with WiFi.
- Both the App Store and Google Play Store provide the app without charge.
- Make sure your Canon printer is connected to a power source and turn it on.
- You should launch the Canon PRINT app on your smartphone.
- To begin the installation procedure, tap the “Add Printer” icon.
- To choose your printer’s model and connect it to the WiFi network, follow the on-screen instructions.
- Enter your WiFi network’s network password when requested.
- The Canon PRINT app will provide a confirmation notification after your printer is linked to the WiFi network.
- By printing a test sheet from the app, you can check the connectivity.
Method 3: Connect Canon printer to WiFi via standard procedure
This method is a standard procedure to connect Canon Pixma printer to WiFi network without any hassle. Here are the steps that you need to refer to:
- Make sure your Canon printer is connected to a power source and turn it on.
- Go to the “Wireless LAN Setup” option on your printer by pressing the “Settings” button.
- To activate wireless LAN, select “Wireless LAN Setup” and click “Yes”.
- From the list of accessible networks, select the name of your network (SSID).
- Your WiFi network’s password must be entered.
- Once you have made sure your entry is accurate, click “OK.”
- A WiFi network connection for your printer is still pending.
- The printer will show a confirmation message after successful connection.
- To verify that your printer is successfully connected to the WiFi network, print a test page.
- We hope you learned how to connect Canon printer to WiFi network.
Why I can’t connect Canon Pixma printer to WiFi?
If you are struggling to learn how to connect a Canon Pixma printer to WiFi, there could be several reasons for that. Here are some of the most common causes of WiFi connectivity issues on your Canon printer:
- Incorrect network credentials
- Congestion on your home WiFi network
- Standard method
- Canon printer placed too far away from the router
- Outdated or corrupted printer firmware
- Technical issues on your wireless router
- Restriction due to firewall or antivirus
- Hardware issues on the Canon Pixma printer
Steps for Canon printer network troubleshooting
Here are some of the most effective tips and tricks to connect Canon printer to WiFi network without much hassle. Kindly follow the steps very carefully:
- Firstly, make sure the Canon Pixma printer is compatible with your WiFi network.
- Make sure you update your router as well as your printer’s firmware to the latest version.
- This will make sure both devices are compatible to each other.
- After that, double-check that you enter the correct WiFi network name and password.
- Ensure that no other wireless devices connected to the network are causing interference.
- If too many devices are connected to the network, kindly disconnect all inactive devices.
- At last, you must disable the firewall on your network.
Final thoughts
This page was all about how to connect Canon printer to WiFi using three different methods. The three different methods are WPS, Canon PRINT app, and standard method. We hope that this post was useful to you and that it helped you learn how to connect my Canon Pixma printer to WiFi. If you encounter any issues or doubts, kindly feel free to reach out to our support team for further assistance.